How to Sew a Button: A Step-By-Step Guide
A true gentleman knows how to
sew a button


Written
by Jennifer Song
Sewing isn’t just a ladies’
game. A true gentleman should know the basics of sewing too. At one point or
another, we’ve all had a shirt button fall off or found our jacket missing a
button. Instead of accepting a loss on your favorite shirt or jacket, our
step-by-step guide will show you how to fix a loose or missing button. Though
it may be convenient to take it to your personal tailor (aka your mom or
girlfriend), you can’t count on that when you’re in a pinch. With these simple
steps, you’ll be able to sew your button in ten minutes or less with these
simple steps (whether it’s a flat button or a shank button).
Things You’ll Need
- The garment (or course)
- A matching button
- Needle
- Needle Threader (optional, but very handy if you’re a rookie at threading needles)
- One Pin
- 24 inches of thread (match the color to the thread on your garment)
- Scissors
Sewing a Flat Button
Flat buttons are the most
common type of button, found on garments such as button-up shirts and
cardigans. They have either two holes or four holes.
Step 1: Thread the Needle
Cut about 24 inches of thread.
Slide the thread through the eye of the needle or use a needle threader to
assist you. “Double up” the thread by pulling the thread through the needle
until you have equal lengths on both sides. Knot the ends of the thread to keep
them from coming loose. This knot functions as your anchor, so make sure this
knot is large enough that it won’t get pulled through the fabric (a single knot
is usually sufficient).
Step 2: Mark the Right Spot

Lay the fabric down as if it
was buttoned and push a pin through the middle of the buttonhole and through
the fabric behind it. This will mark the exact spot where the button needs to
go.
Step 3: Push Needle Through
the Backside
Push the needle up through the
underside of the cloth next to your marker pin. Remove the pin. Pull the thread
all the way until you feel the knot pressed against the underside of the
fabric.
Step 4: The First Set of Holes
Bring your needle up through
any one hole in the button. Push the needle down through the hole that is
diagonally across from the first hole. Bring the needle back down through the
fabric. Repeat this 2-3 times through the same holes.
Step 5: The Remaining Holes
Repeat the last step with the
two remaining holes.
Optional Step: The Shank
You may want to do this step
if your button needs a little more room to be fastened or if the other buttons
on your garment have it. To create a “shank,” bring the needle back up the
through cloth. Wrap the thread around the base of the button 3 times and push
the needle back down through the fabric. This will create a bit of separation
between the button and the cloth.
Step 6: Secure the Thread
To secure the thread, start
with a loose stitch on the underside of the fabric. Before you tighten stitch,
bring the needle around and through the loop like a single knot. Now pull the
thread tight. Repeat this 1 to 3 times.
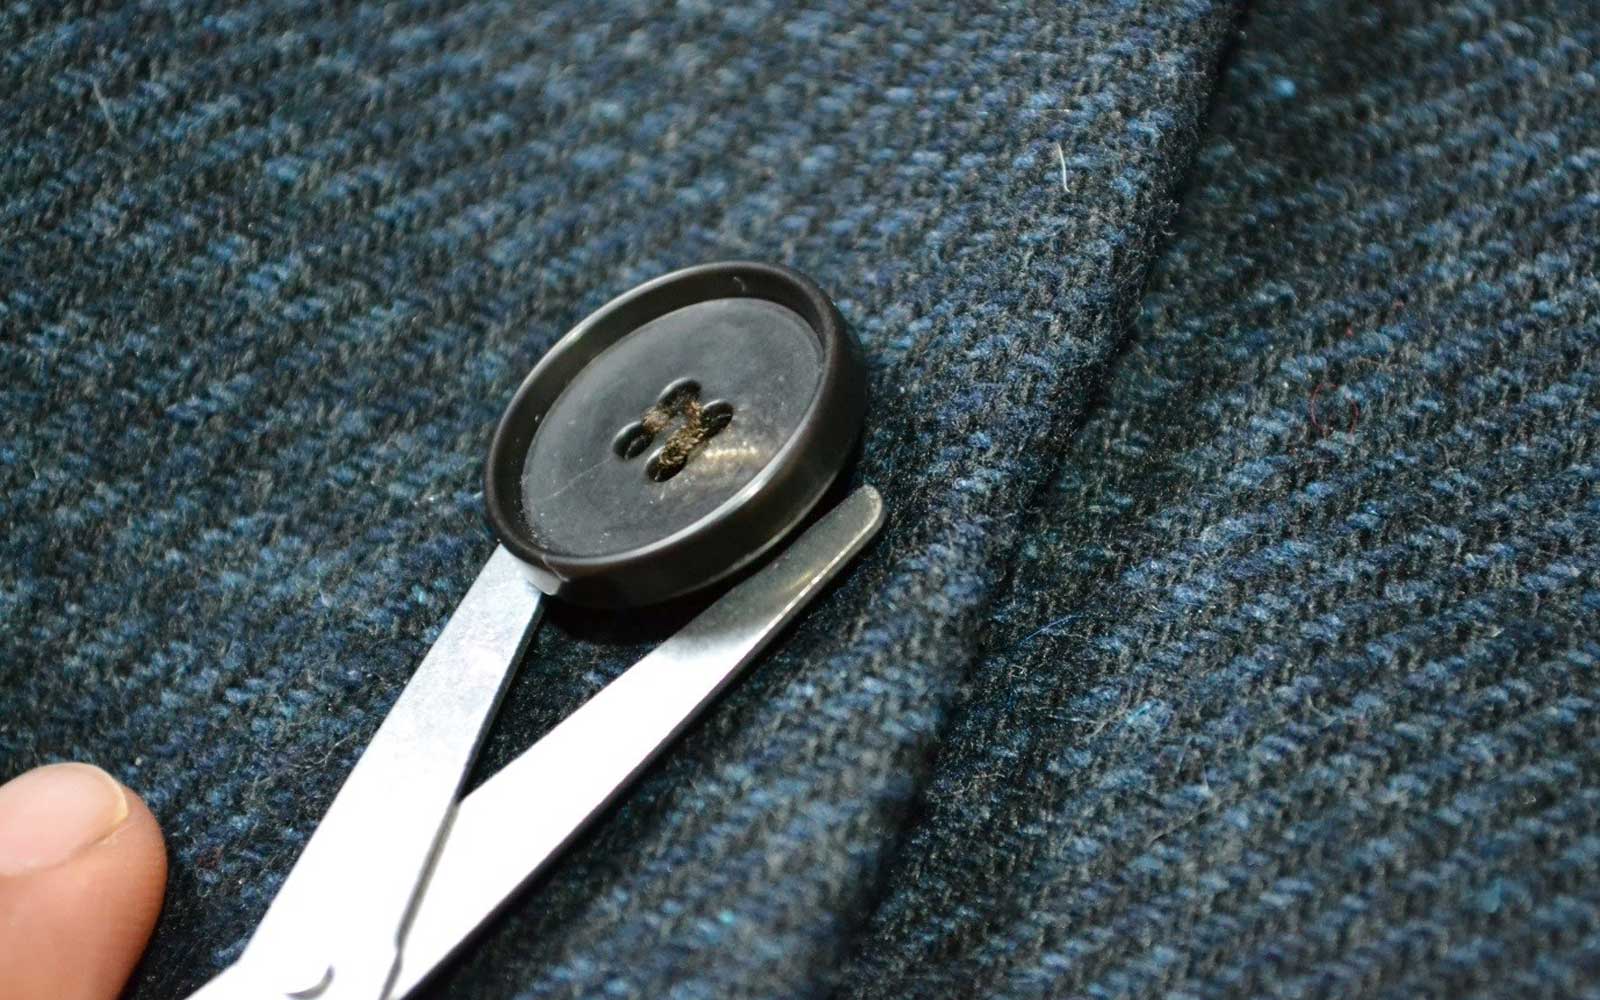
Step 7: Cut the Thread
Cut the loose ends of the
thread close to the fabric. And that’s it, you’ve just sewed on a button.
Sewing a Shank Button
Shank buttons are typically
used for thicker coats and jackets. This type of button has no holes on top.
Instead, it has a single loop (which is referred to as the “shank”) on the back
to thread a needle through. The shank creates extra space between the button
and the garment.
1. Follow the first 3 steps of
sewing a flat button.
2. Bring your needle through
to through the shank and back down through the garment. Make sure not to sew
the button too tightly. It should be close enough that it isn’t dangling off,
but not so tight that the shank makes an indent and sinks into the fabric.
3. Repeat this step four or
five times to secure the button. When finished, pull the needle again to the
front and thread it through the stitches that you have made. This will help
secure the thread.
4. Optional step: Wrap your
thread around the shank and your stitches about three or four times.
5. Push your needle down
through the fabric to the back. To secure the thread, start with a loose stitch
on the underside of the fabric. Before you tighten stitch, bring the needle
around and through the loop like a single knot. Now pull the thread tight.
Repeat this 1 to 3 times.
6. Cut the loose ends of the
thread close to the fabric. And that’s it, you’ve just sewed on a button!
Some Helpful Tips
- Use a thread that is the same color as your garment. If you’re unsure about the color, bring the garment along when you purchase your thread.
- Make sure to pull the thread completely after each stitch to prevent knots and tangling.
- Using a button thread, rather than all-purpose thread, will ensure that your button is fastened securely onto item of clothing. This thread is much thicker and stronger, and can be found in most fabric stores.
- Coating the thread with a wax candle before you begin sewing will make it easier to pull through the fabric.
- Before you throw away any old clothes, save the buttons and store them for later use.
Now that you’ve learned how to
sew a button, you no longer have to rely on the ladies in your life for a small
wardrobe mishap. You’re one step closer to being a true, self-sufficient
gentleman. With this handy newly acquired knowledge, you can button up, suit
up, and move up in the world.
Jennifer Song
Jennifer is a Marketing Intern
and Blogger at Wild Attire, Inc. She is a lover of cats, peanut butter, and
everything pink.
SOURCE:
THE GENTLEMANUAL
Comments
Post a Comment