How to Tie a Tie: Step-by-Step Videos for 6 Necktie Knots
From the Four-in-hand to the
bow tie, become a knot tying Wizard
Written by Ties.com
Welcome to Tie Knot World.
Actually, this is more like
Tie Knot Land, where you’ll find step-by-step guides on how to tie six of the
most popular knots: the Four-in-hand, the Windsor, the Half-Windsor, the Simple
Knot, the Eldredge, and the bow tie knot.
Tie Knot WORLD exists here.
For the whole nine yards from slim to thick, you’ll want to check out that
handbook of over 13 ways to tie a tie on our Man Academy.
Here We Go: How to Tie Six
Types of Necktie Knots
Become a knot tying wizard.
Four-in-Hand Knot
A popular, slender, and
versatile knot. This knot is named after a famous 19th century London-based
Gentleman’s Club of the same name.
- Start with the wide end of the tie on the right and the small end on the left. Begin with the small end slightly above your belly-button (will vary depending on your height and the length & thickness of your tie). Only move the active (wide) end.
- Wide end over the small end to the left.
- Under the small end and to the right.
- Across the front and to the left.
- Up into the neck loop from underneath.
- Down through the loop you’ve just made in the front.
- Tighten the knot by pulling down on the wide end. Slide the knot up & adjust.
Windsor Knot
A classic, triangular, and
symmetrical knot. Named after the Duke of Windsor, who preferred triangular
knots on extra wide ties.
watch
watch
- Start with the wide end of the tie on the right and the small end on the left. The tip of the small end should rest slightly above your belly-button (this will vary depending on your height and the length & thickness of your tie). Only move the active (wide) end.
- Wide end over the small end to the left.
- Up into the neck loop from underneath.
- Down to the left.
- Around the back of the small end to the right.
- Up to the center, towards neck loop.
- Through the neck loop and down to the right.
- Across the front to the left.
- Up into the neck loop from underneath.
- Down through the loop you’ve just created in the front.
- Tighten the knot by pulling down on the wide end. Slide the knot up & adjust.
Half-Windsor Knot
A casual, elegant, and
adaptable knot. It’s about three-quarters the size of the original Windsor.
watch
watch
- Start with the wide end of the tie on the right and the small end on the left. The tip of the small end should rest slightly above your belly-button (this will vary depending on your height and the length & thickness of your tie). Only move the active (wide) end
- Wide end over the small end to the left.
- Under the small end and to the right.
- Up to the center, towards neck loop.
- Through the neck loop and to the left.
- Across the front, over to the right.
- Up into the neck loop from underneath.
- Down through the loop you’ve just created in the front.
- Tighten the knot by pulling down on the wide end. Slide the knot up & adjust.
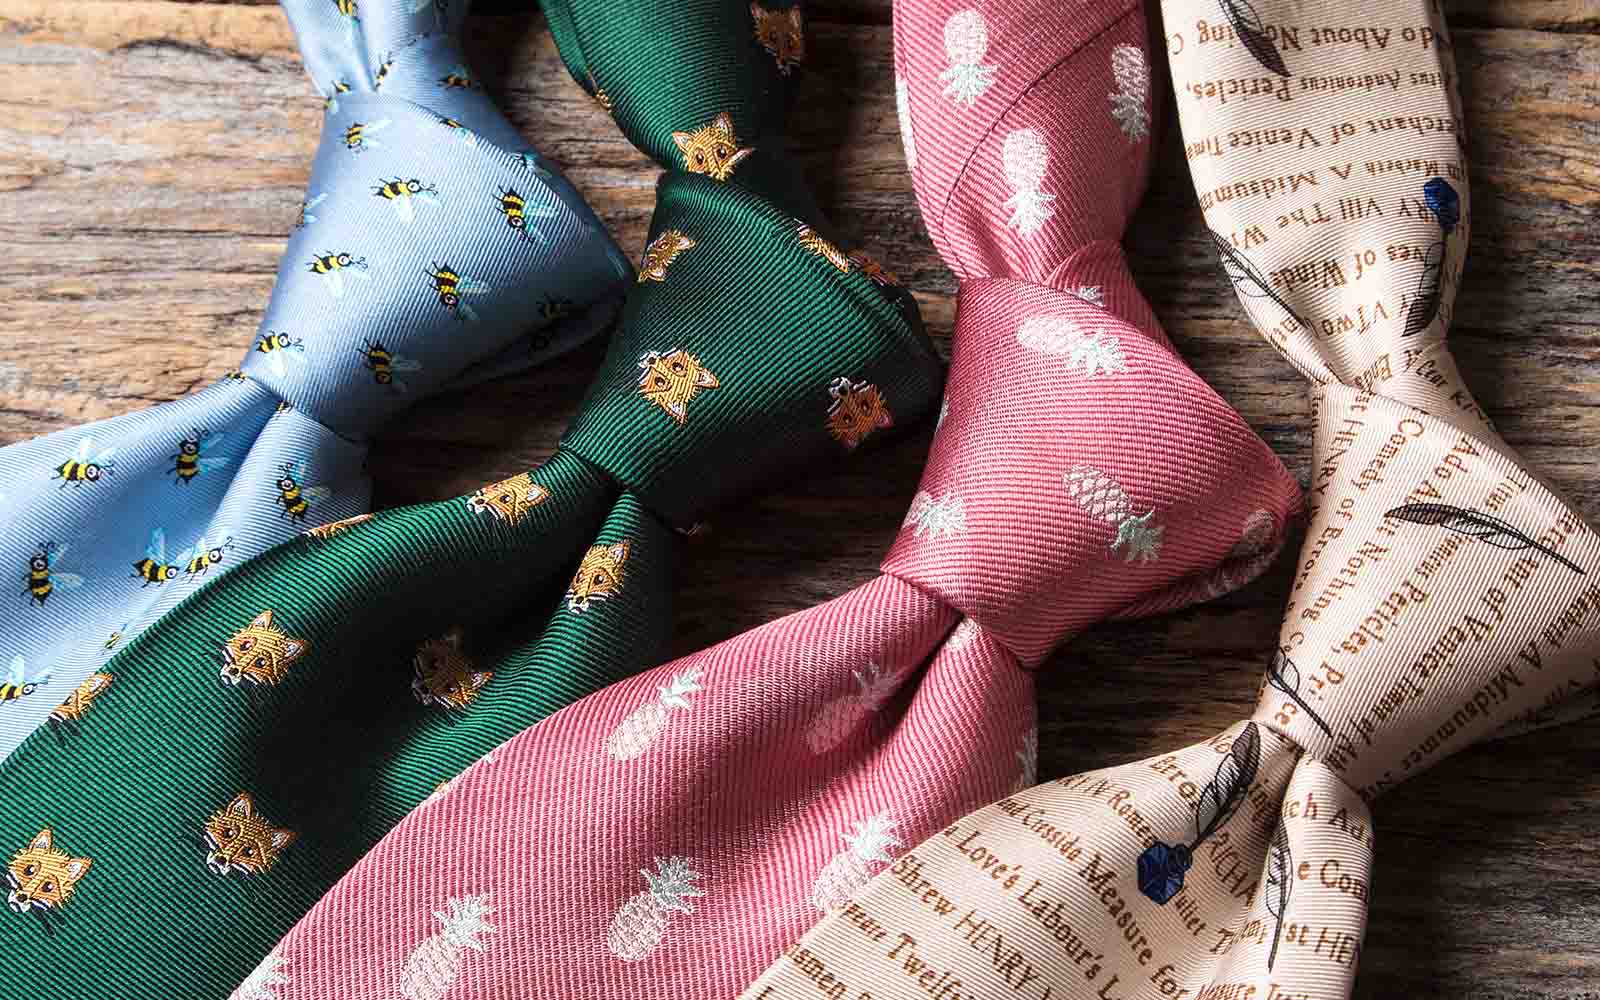
Bow Tie Knot
Intelligent, quirky,
devil-may-care neckwear. Bow ties were born from the need to wear a knotted
cravat that would last throughout a more active day. A word of advice: please,
for the sake of Pete (whoever that is), stay away from pre-tied or clip-on bow
ties. Unless you’re doing a comedy act.
watch
watch
- Start with the bowtie lying face up. Adjust the bowtie so right side is shorter than the left. The end on the left will be referred to as A and the end on the right will be referred to as B.
- Move A to the right side, across B.
- Bring A under B and up through the neck loop.
- At the joint, fold B towards the right and then towards the left to create a the bow shape.
- Bring A straight down over the middle of the bow shape that was made with B.
- Fold A back towards the chest and pinch the fold.
- Push the pinched end (A) through the loop behind B.
- Pull on the folded parts of the bow to tighten.
- Adjust until balanced on both sides.
Simple Knot
A small, brave and functional knot. It’s also known as the Oriental Knot, the Kent Knot, and the Petit Koeud. This is the easiest knot and is worn mostly in Asia.
watch
- Start with the backside of the tie facing away from you, the wide end is on the right and the small end is on the left. The tip of the small end should rest slightly above your belly-button (this will vary depending on your height and the length & thickness of your tie). Move only the active (wide) end.
- Wide end under the small end to the left.
- Across the small end to the right.
- Up into the neck loop from underneath.
- Down through the loop you’ve just made in the front.
- Pull down on the wide end to tighten. Slide the knot up to adjust
Eldredge Knot
An unorthodox, complex, and
eye-catching knot. Invented by Jeffrey Eldredge in 2007, this 15-step tie knot
is internet famous.
watch
watch
- Start with the wide end of the tie on the left and the small end on the right. The tip of the wide end should rest at the top of your belt buckle. Only move the active (small) end.
- Small end over the wide end to the left.
- Under the wide end and to the right.
- Up to the center, towards neck loop.
- Through the neck loop and to the left.
- Across the front, to the right. Then up into the neck loop from underneath.
- Down to the left and around the back of the wide end to the right. Keep this part loose.
- Bring it across the front towards the left and through the loop made in the previous steps
- Pull the small end towards the left to tighten.
- Up to the center, towards neck loop. Down through the neck loop and to the left.
- Up to the center, towards neck loop. Down through the neck loop and to the right. Keep this part loose.
- Across the front towards the left and through the loop made in the previous step.
- Pull the small end towards the left to tighten.
- Tuck the rest of the small end behind neck loop on the left side.
- Strut your stuff
sartorial savages
SOURCE: THE GENTLEMANUAL
SOURCE: THE GENTLEMANUAL
Comments
Post a Comment